
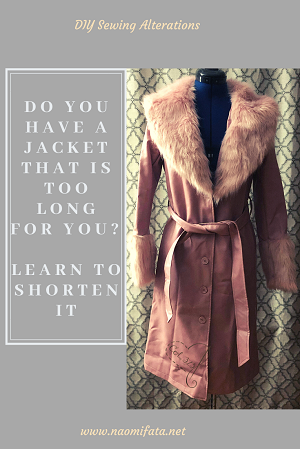
How you ever had a coat that was just too long? Maybe you are petite and the store bought coat is awkwardly long. Most coats are relatively easy to alter. It isn’t that complicated to shorten a coat with lining.
Before altering the coat make sure you know what length will look proportional. Also, it is important to keep in mind the placement of the existing buttons and button holes. If the new hemline is too close to a button it looks awkward. Ideally I think the hem needs to be no less than 4″ from the last button.
On this jacket I shortened it right to the final button. This allowed me to turn the button hole slightly behind the hem hiding it from view. Once you have determined the length of the finished coat you can begin work.
Start by using a seam ripper to remove the lining from the bottom edge of the coat.
This gives you access to the seam. After the lining is released from the bottom edge, the bottom is open to mark the outer fabric for the final length. This jacket was a faux leather so I was able to use tailors chalk to mark the inside of the jacket.
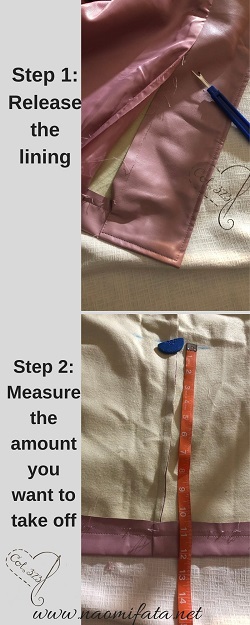
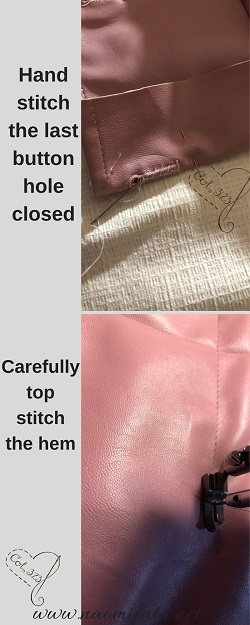
I wanted to the final coat to be 12″ shorter than the original, but I needed an extra 2″ to fold up for the hem. Therefore, I only cut 10″ off the bottom. Then I carefully had stitched the final button hole closed, turned up the hem to the desired length and top stitched it by machine. This particular coat was faux leather, more tips on sewing faux leather can be found here.
After the hem is topstitched, the lining has to be trimmed and reattached by hand.
The process is similar to the way you would reattach the lining after shortening a jacket sleeve, as I explained in an earlier post.

If you are interested in more sewing tips check out my downloadable Alterations Ebook.

Virtual Sewing Classes


PDF TUTORIALS
-
 Beginner Mending and Alterations for the Home$20.00
 -
3 Textiles Lessons Your Kids will love for your homeschool$12.00
-
Create a Boxed Pillow with this Step-by-Step Tutorial$8.00
-
Master the Basics of Your Sewing Machine – Tips for Beginners$5.00
-
How to Repair Elastic Waist – Easy Steps!$8.00
-
How to make the waist of jeans smaller with darts$4.00
-
How to Replace a Jacket Zipper PDF Tutorial$6.00
-
How to Shorten Jacket Sleeves Tutorial$4.00
-
How to Alter a Coat Tutorial$6.00


