
This post may contain affiliate links so I earn a commission. Please read my disclosure for more info.
Now that Christmas is over, I have winter ball dresses filling the shop. Our small-town high school holds a winter ball in January for the juniors, which is also open to the rest of the high school as well.
This year the dresses varied in color and texture. Reds, blues, greens, brown; velvet, satin and chiffon.
The standard alteration that I get asked for is to shorten a dress, as most formal gowns are made long to accommodate for the height heel that might be worn as well as those women who are above average height.
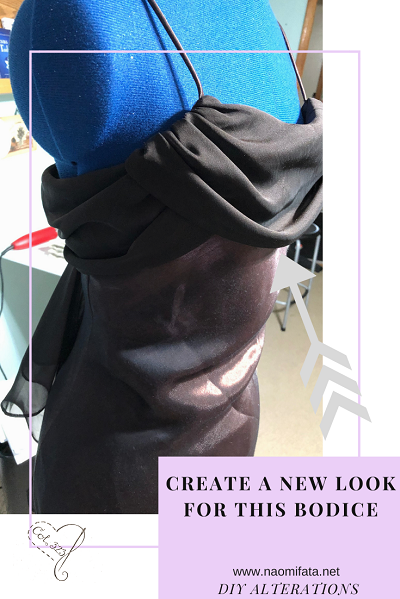
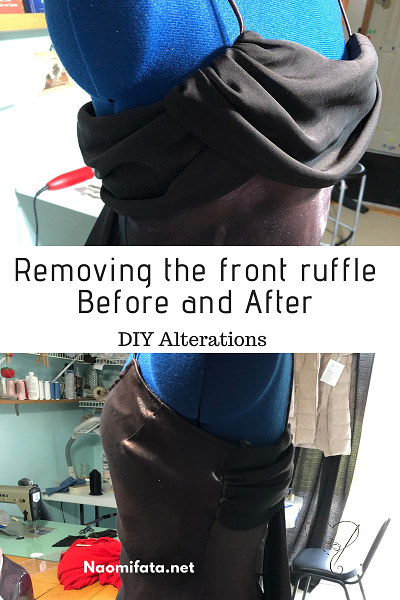
This brown dress came in with a more unusual request. The ruffle on the front needed to be removed. It is more of a personal style issue than a necessity, but I could see the young woman’s point that the dress has more appeal without the drape coming over the bodice.
From the onset I could see the construction of the dress was standard with a fashion fabric and lining.
The most important tool you need for this project would be a seam ripper and sewing machine. I also recommend having a dress form – especially if you are in business sewing. It helps so much to be able to put the dresses on the dress form to see how they look.
When taking a dress apart always remember it should go back together the same way it came apart
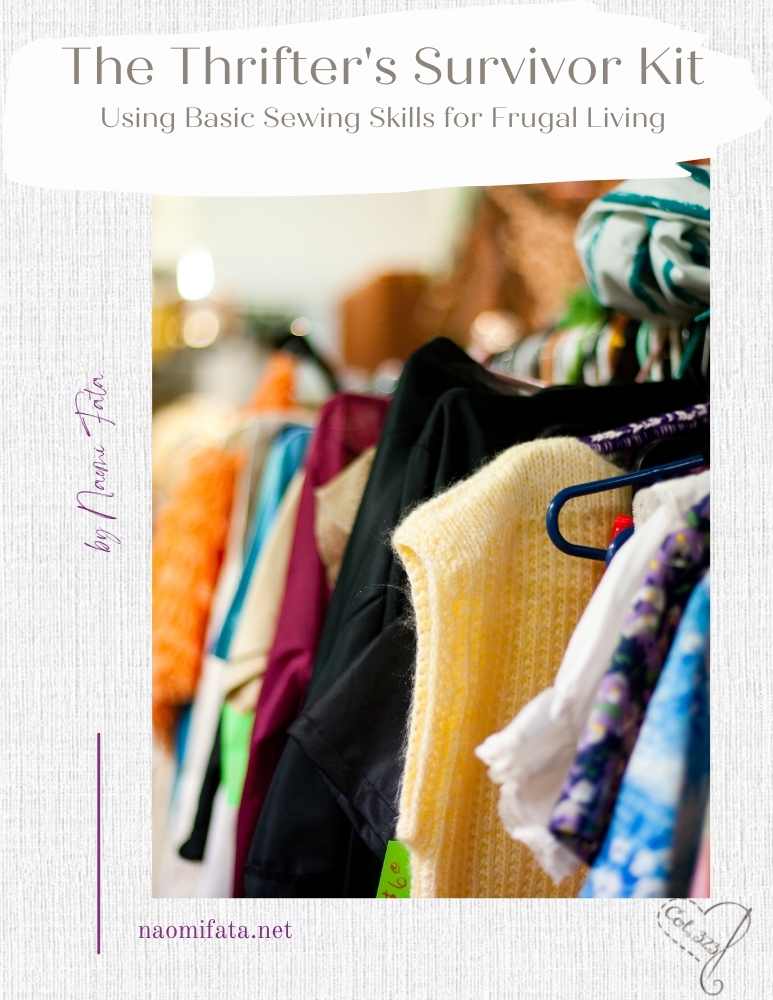
Do you love to thrift?
Did you know that thrifting opens up a whole new world of possibilities when you consider you thrifted options with sewing in mind? This download is filled will ideas about what to look for with some sewing in mind.
The draping was simply sewn between the two pieces. However, there were a few complications
- The top stitching. There was a fine line of topstitching all the way around. This just created one more line of stitching that needed to be removed for the alteration to occur.
- The straps. The straps were sewn into the same seam that the ruffle, bodice front and lining were sewn in. Therefore, when the stitching was removed the straps also came free and had to be reattached. The straps are such thin spaghetti straps that when I reattached them, I had to take care that they didn’t get twisted and turned upside down.
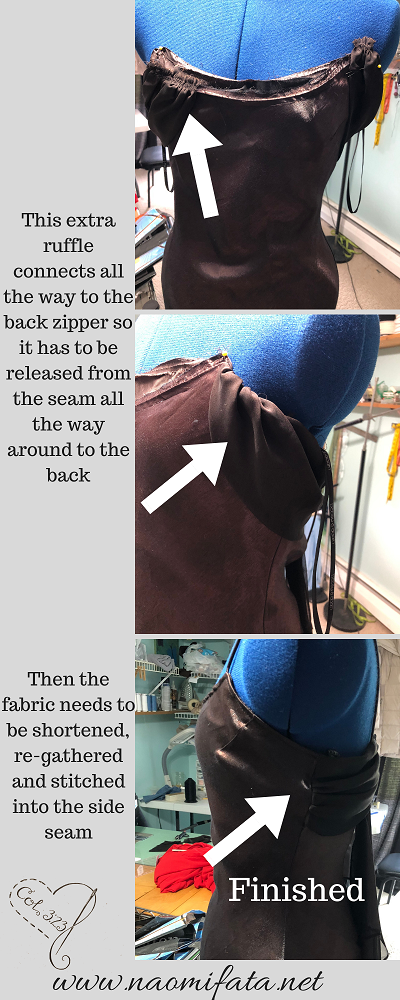
- The decorative ruffle/sash that extended from the front bodice all the way around the back. The client wanted to keep the sash look in the back (which really is very elegant) but wasn’t sure about having it all the way in the front since the top ruffle was going to be removed. When I first looked at the dress, I had the idea that I could taper the ruffle into the edge of the seam along the underarm. I tried this technique but found that there was just too much fabric. The bulk of the ruffle was not smooth against the dress and created a bunch of fabric just in front of the armpit.

Alterations mean thinking outside the box
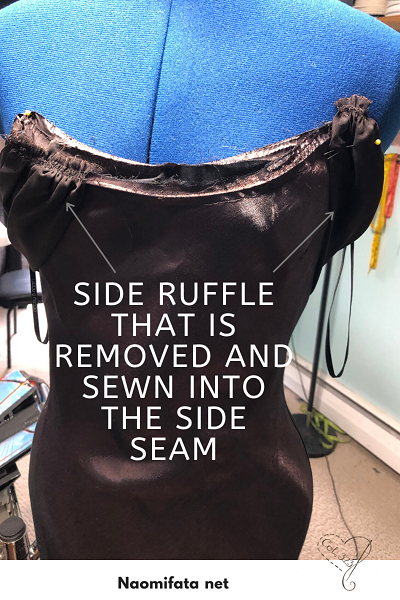
Taking the front bodice ruffle off was quite simple, it was the side ruffles that got me thinking. Then I thought of removing all of that from the front of the dress and just having it come into the side seam.
In order to do this, I had to take the layers apart well past that side seam that falls directly under the arm. Then I had to measure how long the ruffle needed to be to reach the side seam.

Once the ruffle (or drape – call it what you like) was released from the seams it was quite wide because of the sheer fabric. The fabric was gathered at the original spot where it went into the seam, but I needed it gathered at the place where I was going to attach it to the side seam.
For a tutorial on how to gather you can watch the video below.
Also because I was going to be sewing the ruffle into the side seam I had to take the side seams apart for about 4”. Once my gathered was in place it could be pinned into the side seam and all sewn back together.

Finish your the alteration mimicking the finished seams of the original dress.
After this was done the bodice could be finished by simple sewing the lining back to the fashion fabric. Remember that all this work is done from inside the dress. When it is turned right side out, smooth out the seam and top stitch along the edge of the neckline.
For more dress altertions check out some of my other posts.
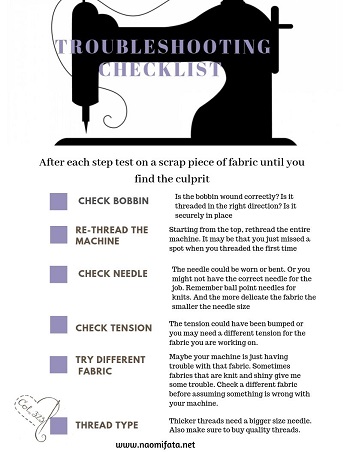
Also be sure to get your free troubleshooting checklist if your machine stitches aren’t catching. We all have sewing machine troubles at times but many times it is an easy fix to get it running again. For the checklist go to the post page and scroll down to the bottom where it will tell you to click for your download.
Virtual Sewing Classes


PDF TUTORIALS
-
 Beginner Mending and Alterations for the Home$20.00
 -
3 Textiles Lessons Your Kids will love for your homeschool$12.00
-
Create a Boxed Pillow with this Step-by-Step Tutorial$8.00
-
Master the Basics of Your Sewing Machine – Tips for Beginners$5.00
-
How to Repair Elastic Waist – Easy Steps!$8.00
-
How to make the waist of jeans smaller with darts$4.00
-
How to Replace a Jacket Zipper PDF Tutorial$6.00
-
How to Shorten Jacket Sleeves Tutorial$4.00
-
How to Alter a Coat Tutorial$6.00


