
This post may contain affiliate links so I earn a commission. Please read my disclosure for more info.

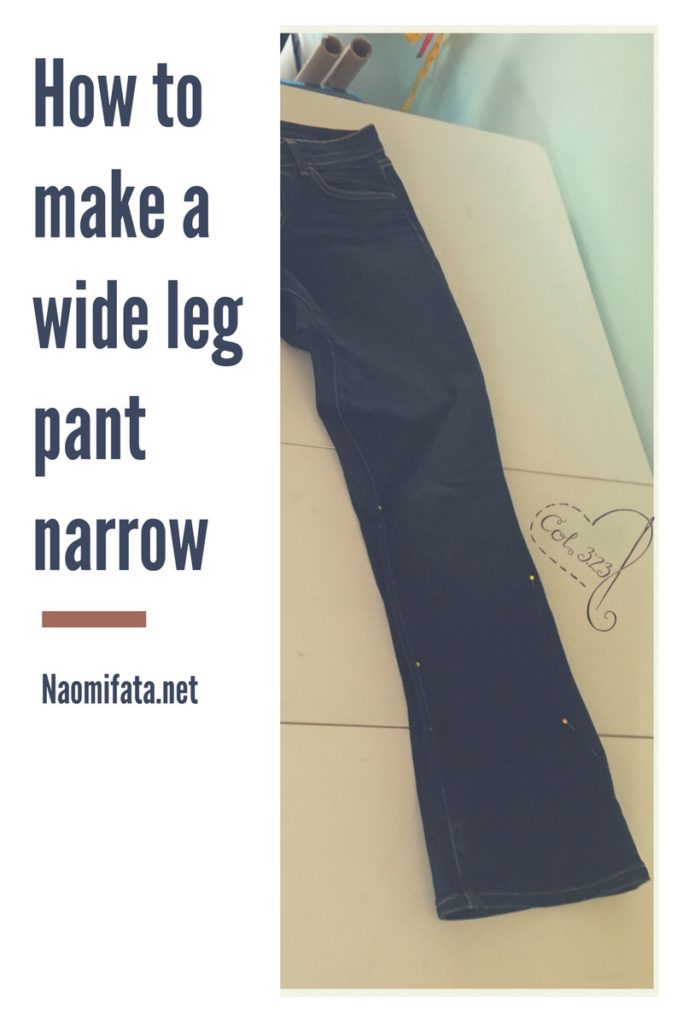
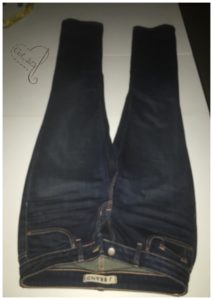
Have you ever had a pair of jeans that fit perfectly in the waist and hips but you just didn’t like the width of the leg? Maybe they flare at the bottom or maybe they are straight leg and you want them to be tight at the bottom. In a few simple steps you can make the pants legs narrower. I’ve created a printable tutorial for you as well which you can buy as a PDF in my online shop which will give you the ease of learning free of ads.
1. Pin the legs of the pants to the desired width.
You can have someone else do the pinning for you. If you don’t have someone to pin it helps if you have a pair of pants that already has the desired leg width that you want. You can use those as a template for making the wide leg pants narrower.
Usually I start taking in from the narrowest part of the existing leg which tends to be around the knee area.
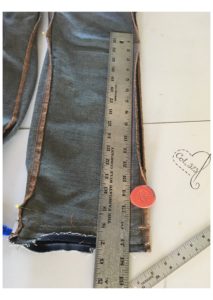
After you are done pinning, measure the distance between pins at the hem of the pants. This is your desired width.
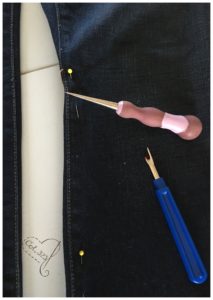
2. Remove the top stitching
Notice that on the inside leg of almost all jeans is a top stitch that runs all the way down from the crotch. This has to be removed in order to alter the leg or else there will be a pucker where you started the alteration. Just use a seam ripper or an awl to take the stitches out.
3. After taking out the top stitching. Remove the pins and turn the pants inside out.
Once they are inside out I mark the narrowest point of the leg. This will be the starting point for the alteration.

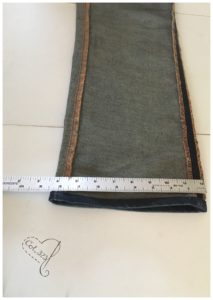
4. Then measure the desired width of the hem.
(Note: if the pants are the right length you will need to removed the hem to alter the side seams and then restitch the hem. If you do the alteration without removing the hem there will be a lot of bulk in the hem area, which could cause the pants to rub uncomfortably on your ankles.)
If the existing width is 8″ and the desired width is 6.5″ the leg needs to be taken in 1.5″. You want to take in an even amount on both sides so you would mark 3/4″ from each side seam.
5. Use a yard stick to draw a straight line
Once you have marked the correct width on the bottom use a yard stick to draw a straight line with tailors chalk from the narrowest point around the knee to the marking on the bottom. This will be your line to stitch on when you sew.
6. Repeat this on both legs of the pants.
You will be making four seams altogether – two on each leg. When you are done stitching , trim the seams. If you have a serger, serge the raw edges to prevent fraying during washing. Redo the hem in exactly the same place. Turn the pants right side out and you are finished.
Congratulations! It’s a job well done?
For a complete list of recommended sewing tools for alterations look here.
For this project you can use a basic home singer sewing machine.
If you have trouble with your sewing maching stitches not catching check out my troubleshooting blog post for a few solutions.
Or grab the free checklist download here
Do you love to thrift?
Did you know that thrifting opens up a whole new world of possibilities when you consider you thrifted options with sewing in mind? This download is filled will ideas about what to look for with some sewing in mind.
For more on tools needed for DIY alterations check out this post.
Don’t miss my free tutorial on how to alter a blouse that is too big – filled with step by step photos and explainations.
Virtual Sewing Classes


PDF TUTORIALS
-
 Beginner Mending and Alterations for the Home$20.00
 -
3 Textiles Lessons Your Kids will love for your homeschool$12.00
-
Create a Boxed Pillow with this Step-by-Step Tutorial$8.00
-
Master the Basics of Your Sewing Machine – Tips for Beginners$5.00
-
How to Repair Elastic Waist – Easy Steps!$8.00
-
How to make the waist of jeans smaller with darts$4.00
-
How to Replace a Jacket Zipper PDF Tutorial$6.00
-
How to Shorten Jacket Sleeves Tutorial$4.00
-
How to Alter a Coat Tutorial$6.00


