
This post may contain affiliate links so I earn a commission. Please read my disclosure for more info.
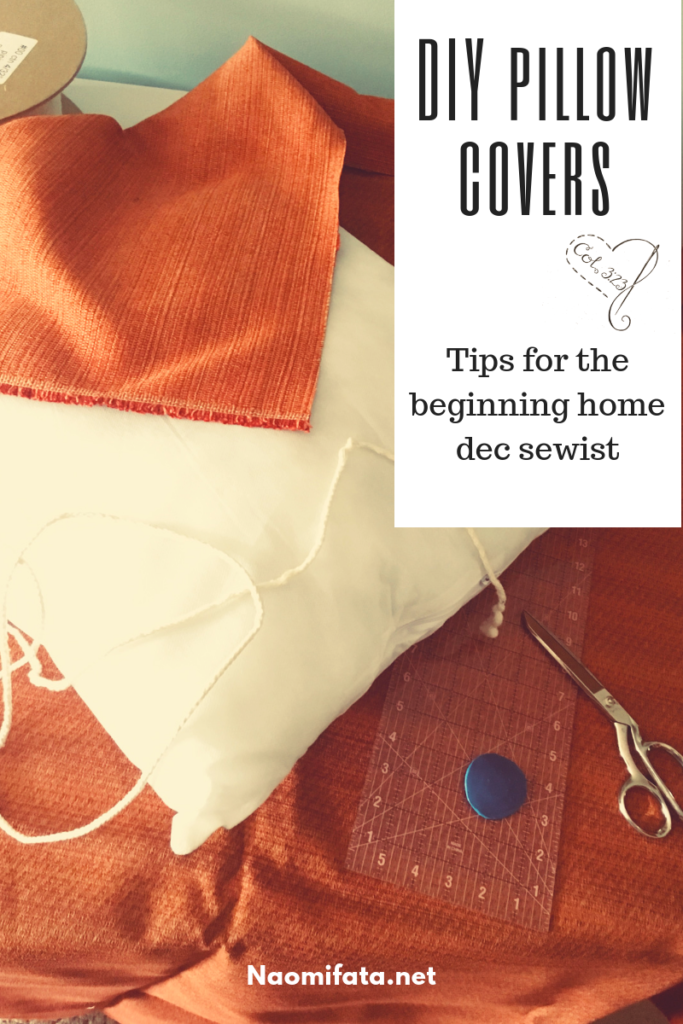
Pillows are the simplest home dec project to learn to start sewing. They are a quick project that you can start and finish in an afternoon. This sense of accomplishment will give you the courage to tackle another project down the road.

First you need to know what size pillow you cover is for. Standard pillows come in square sizes every two inches.
You will want to make your pillow cover smaller than the actual pillow form so that the pillow willl fill out the cover rather than hanging limply. Make them at least 1/2″ smaller (i.e. 19 1/2 ” x 19 1/2″ for a 20 x 20 pillow). This can be adjusted based on preference. If you like a full look for your pillows you can make the covers and inch smaller. (i.e. 19 x19)

Slipcovers can be a beautiful way to enhance your home. Check out some of my projects for your own slipcover inspiration.
I use a quilters ruler and tailors chalk for all the markings on the back side of the fabric. The tailors chalk marks my sewing line.
You will need two squares of fabric for each pillow (one for the front and one for the back)
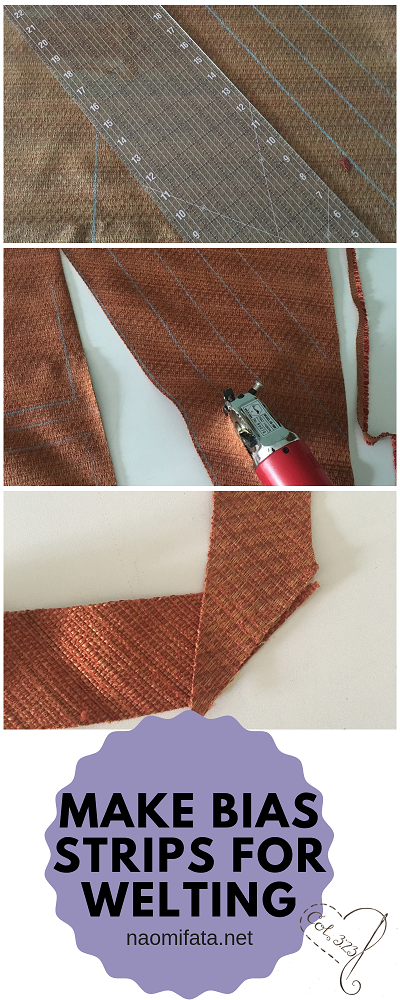
After you have your pillow facings cut you will need to make bias strips for the welting around the pillow. Again I use the quilter’s ruler to mark strips 1 3/4″ wide.
Bias means to go against the grain so you are cutting strips diagonally across the fabric.


Especially when sewing home dec fabrics I love my electric rotary cutter rather than fabric shears because it saves my hands and also is more time efficient.
Once the strips are cut, lay them right sides together. It will look like a ‘v’ in the last photo of the image above.
When you sew the strips in the ‘v’, lay the strip out and turn it over to make sure it looks like the top photo of the image below.
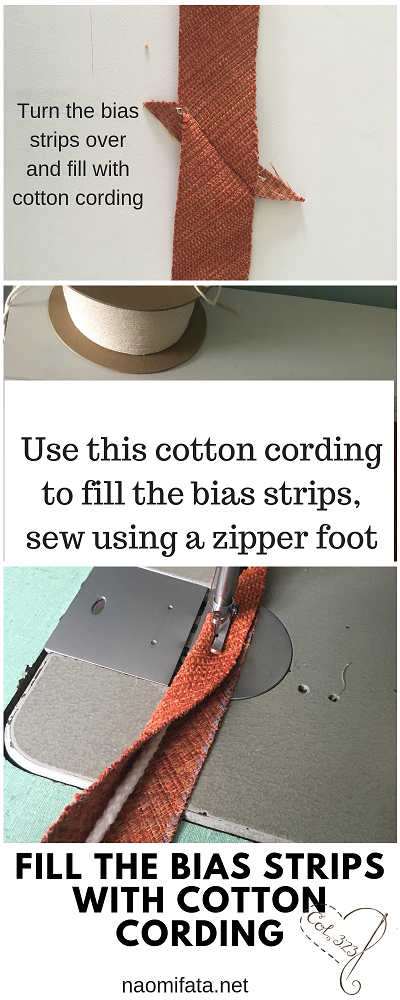
Then you will place the cotton cord in the center of you bias strip, fold the strip over the top and stitch with a zipper foot.
Tip: When sewing the cord in the bias strips I use regular weight cotton thread, and only use nylon tread for the final stitching when I’m stitching all layers of the project together.
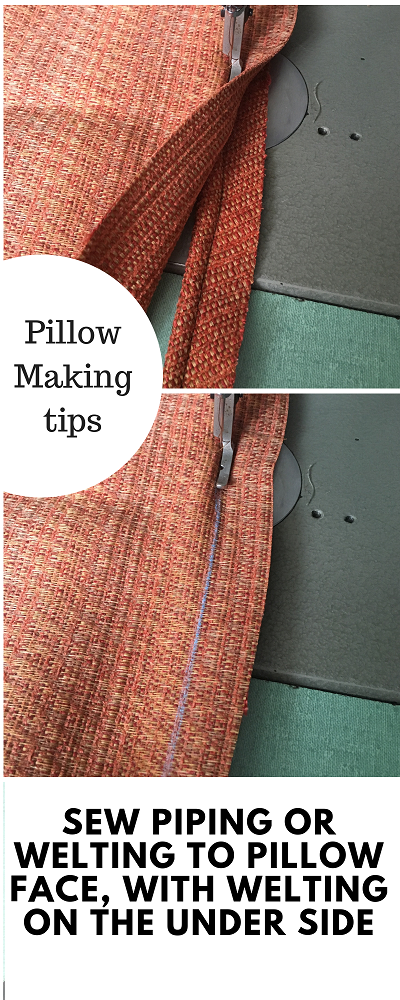
When you are finished with the welting sew it onto the back side of one of the squares. You only need to attach piping to one side of the pillow, not both.
Don’t miss out on your free gift. 16 pages of an introduction to slipcovers.
Virtual Sewing Classes


PDF TUTORIALS
-
 Beginner Mending and Alterations for the Home$20.00
 - 3 Textiles Lessons Your Kids will love for your homeschool$12.00
- Create a Boxed Pillow with this Step-by-Step Tutorial$8.00
- Master the Basics of Your Sewing Machine – Tips for Beginners$5.00
- How to Repair Elastic Waist – Easy Steps!$8.00
- How to make the waist of jeans smaller with darts$4.00
- How to Replace a Jacket Zipper PDF Tutorial$6.00
- How to Shorten Jacket Sleeves Tutorial$4.00
- How to Alter a Coat Tutorial$6.00


